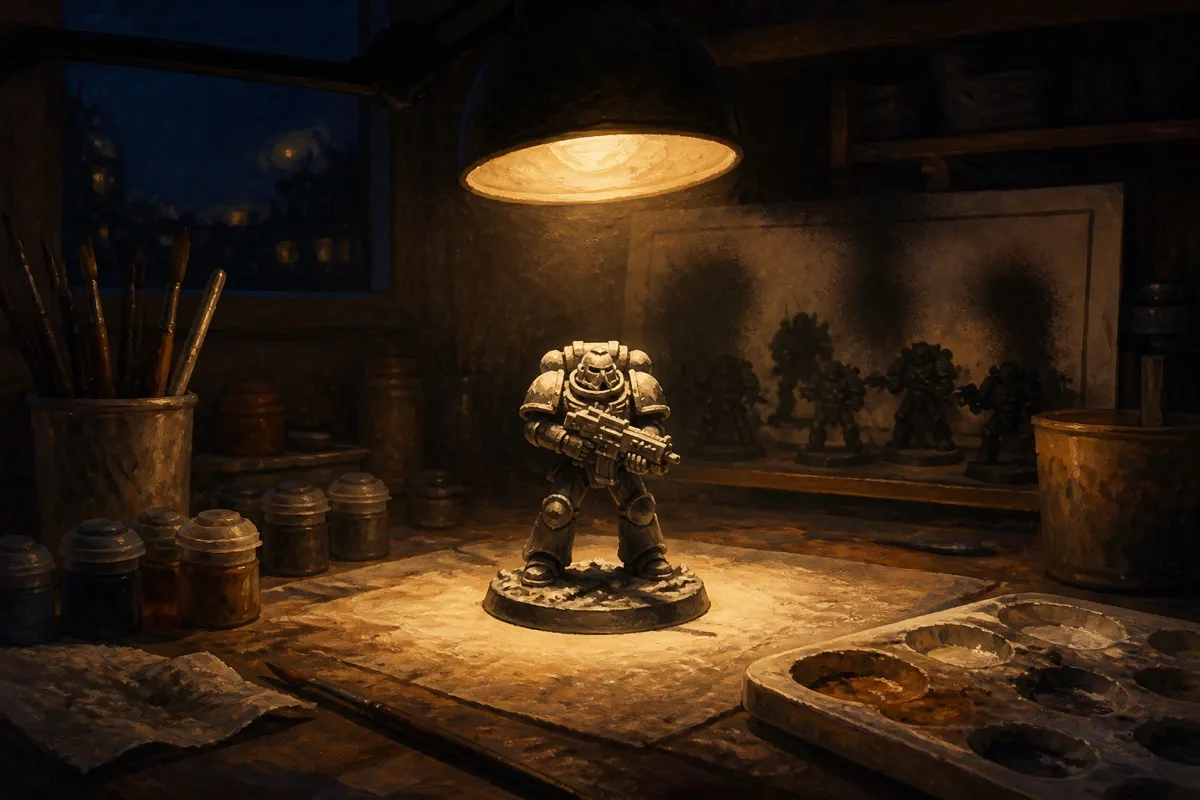
Zenithal priming is a two-tone priming technique that pre-shades a model with a dark base coat and a lighter overspray from above, so recesses stay dark and raised surfaces catch light before you apply a single color. It gives every layer of paint you add afterward a built-in sense of depth, because the underlying primer is already doing half the shading work. It pairs especially well with translucent formulas like Citadel Contrast and Army Painter Speedpaint, since both let the primer gradient show through the finished coat.
Why prime zenithal at all
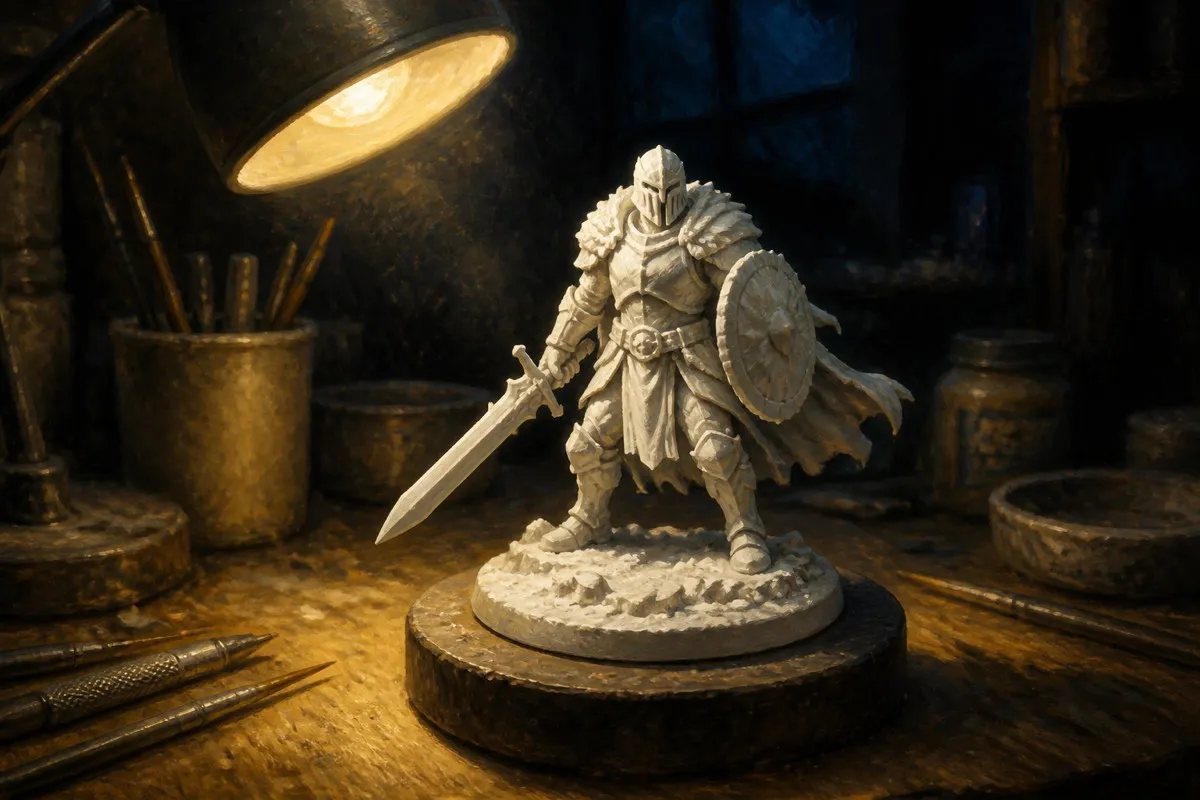
A flat single-color prime gives you an even surface but no information about form. Zenithal priming mimics how light actually falls on a model from above, so recesses under arms, folds in cloth, and undersides of details stay dark from the first coat, while shoulders, helmets, and raised edges are already lighter before any paint goes on. Painters who use thin, translucent paints like contrast or wash-heavy techniques get the most benefit, since the underlying tonal variation shows through the finished coats.
What you need before you start
Zenithal priming is airbrush work. You need a primer that sprays cleanly in two passes, a light color and a dark color, and an airbrush capable of a controlled, angled spray. This site defaults to liquid primers over aerosol cans for zenithal work, since a liquid primer through an airbrush gives you far more control over exactly where the light pass lands, and liquid primers avoid the shipping restrictions that come with aerosol cans. Vallejo Surface Primer(affiliate link) and Badger Stynylrez Primer(affiliate link) both work airbrushed and are common defaults for this technique. If you already paint with Vallejo or AK Interactive, each brand sells its own liquid primer alongside its base color range, so staying in one brand's ecosystem for primer is a reasonable default too.
Step 1: prime the whole model dark from below
Hold the model at a slight downward angle relative to the airbrush and spray a full, even coat of a dark primer, usually black or a dark grey, covering every surface completely. This dark coat becomes your shadow layer. It should be fully opaque with no bare plastic or resin showing through, since any gap here will need to be corrected later with paint instead of primer.
Step 2: mist a lighter primer from directly above
Angle the model so its top-facing surfaces point up at the airbrush, then apply a lighter primer, typically white, grey, or bone, in short controlled passes from directly overhead. The goal is a gradient, not full coverage: shoulders, the top of the head, and raised edges should pick up the light coat while recesses and undersides stay dark. Building the light pass in two or three light mists gives you more control than trying to get the gradient right in one heavy pass.
Step 3: check the gradient before you move to color
Rotate the model under a normal light source and confirm the transition between light and dark reads clearly from a few feet away, the distance most miniatures are actually viewed from on a table. If the contrast is too subtle, another light mist from above tightens it. If it is too harsh or blotchy, a very light dark mist from below softens the transition. Once the gradient reads clean, you are ready to paint, and every color you apply afterward will carry that built-in light and shadow.
FAQ
What primer is best for zenithal priming?
A liquid primer sprayed through an airbrush gives the most control for the overhead light pass, since you can build the gradient in thin, controlled layers. Vallejo Surface Primer and Badger Stynylrez are both common choices among miniature painters for this reason.
Can you zenithal prime without an airbrush?
It is difficult to control by hand, since the technique depends on a fine, angled mist rather than a full even coat. A can spray primer can approximate it from a distance, but a liquid primer through an airbrush gives far more control over exactly where the gradient falls.
What colors should I use for zenithal priming?
Black to white is the standard high-contrast combination, but grey to bone or brown to tan also work and produce a softer, less extreme gradient depending on how much contrast you want carried into the finished paint job.
Does zenithal priming work with contrast paints?
Yes, and it is one of the most common pairings in the hobby, since translucent contrast-style paints let the underlying primer gradient show through and do a large share of the shading automatically.
How long should I let each primer coat dry between passes?
A few minutes between light mist passes is usually enough for a liquid primer to set up before the next layer, and a full cure of an hour or more before handling the model heavily or moving to base coats.