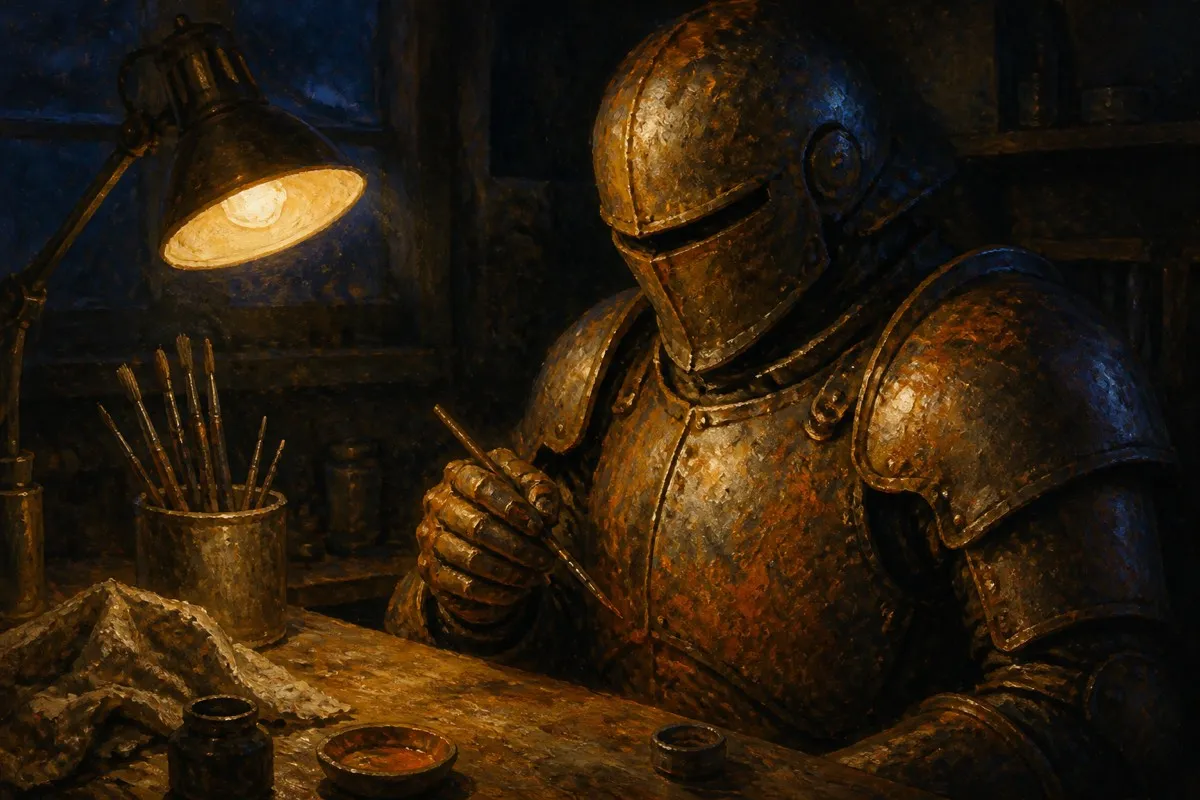
Weathering a miniature is the process of adding rust, grime, chipped paint, and general wear on top of a clean basecoat so the model looks like it has actually been used rather than freshly painted, and the technique relies less on any single specialty product than on layering order: base color first, damage effects second, grime and dirt last, applied in that sequence so each layer reads as sitting on top of the one before it.
Rust effects that exist as ready-made paints
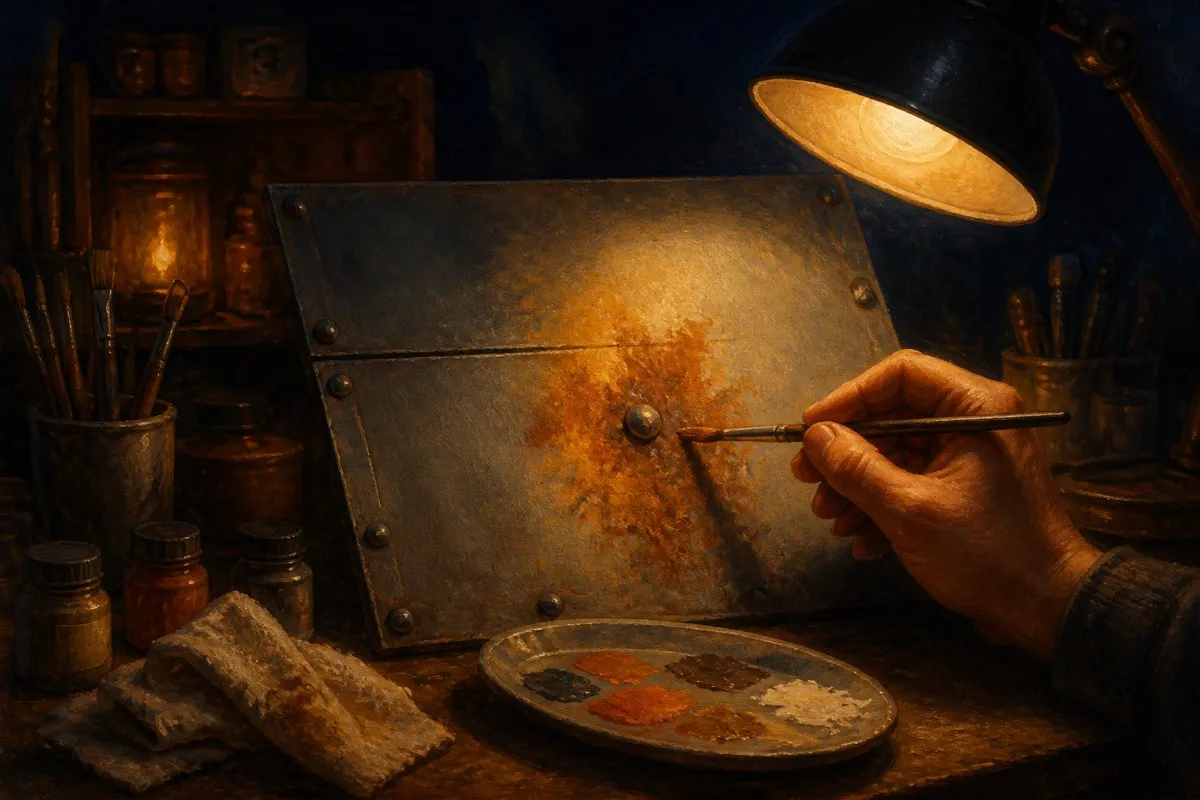
Rather than relying only on dry weathering pigments or specialist pencils, several brands sell rust as a technical paint you apply directly. Citadel Typhus Corrosion is a textured rust-brown effect paint built to dry rough, which reads convincingly as flaking corrosion straight from the pot without any additional stippling technique. Army Painter Rust Tone works as a tinted wash version of the same idea, useful for a subtler rust cast across a larger area like a vehicle hull rather than a heavily built-up patch. For verdigris, the green-tinged corrosion that forms on aged bronze and copper, Citadel's technical range also carries a dedicated effect built for that specific look.
Applied with a small stippling brush(affiliate link) rather than a normal smooth brushstroke, these effects concentrate in the spots real rust would form: seams, rivets, the bottom edges of armor plates, anywhere moisture would actually pool on the real object.
Grime and pin washing
Grime reads differently from rust. It is dark, sits in the deepest recesses, and represents dirt and oil buildup rather than corrosion. A thinned dark wash, pin-applied with a fine brush directly into panel lines and joints rather than flooded across the whole model, achieves the effect without needing a dedicated grime product. AK Interactive Smoke Black is built for exactly this: a transparent dark wash meant for pin lining and general grime work on models with sharp panel detail, common on vehicles and armored infantry.
Grime should go on after any rust or chipping effects, not before, since real dirt accumulates over existing wear rather than under it. Applying it last also lets you use it to tie disparate weathering effects together into one coherent, dirty finish instead of several isolated patches of damage.
Building a weathering pass that reads as intentional
The most common beginner mistake is applying every weathering technique at maximum intensity everywhere, which reads as a dirty model rather than a weathered one. Real wear concentrates at specific points: edges that get handled, recesses that trap moisture, panel seams that see stress. Keeping rust and chipping effects concentrated at those logical points, then using a lighter, broader grime wash to unify the whole model, produces a far more convincing result than heavy effects spread evenly across every surface.
Our oil washing and drybrushing guide covers the broader technique of pin washing and edge highlighting that weathering builds on top of, and is worth reading first if wash control is still a shaky part of your process, since a weathering pass depends on the same brush control as a standard recess wash.
FAQ
What is the easiest weathering effect for a beginner?
A pin-applied dark wash for grime in panel lines and recesses is the lowest-skill, highest-payoff weathering technique, since it needs no specialized product beyond a wash you likely already own.
Do I need weathering powders for rust effects?
Not necessarily. Technical paints built specifically as rust or corrosion effects apply with a normal brush and avoid the extra step of sealing loose pigment powder, though powders remain a valid alternative technique.
In what order should I apply rust, chipping, and grime?
Base color, then localized damage effects like rust or chipping at logical wear points, then a broader grime wash last to unify everything.
How do I keep weathering from looking like the model is just dirty?
Concentrate heavier effects at points that would realistically see wear, edges, seams, recesses, and keep the rest of the model comparatively clean so the weathered areas read as deliberate detail rather than uniform grime.
Should weathering match the model's basing?
Generally yes. A heavily rusted, grime-caked vehicle sitting on a pristine, clean base looks inconsistent, and matching a scorched or muddy base to a weathered model ties the whole piece together as one coherent scene rather than two separate finishes bolted onto each other.
Can weathering be sealed once it is finished?
A matte varnish over the completed weathering pass protects the finish from handling and evens out any sheen difference between paint layers, technical effects, and washes, which otherwise can catch light differently and undercut an otherwise convincing weathering job under table lighting.