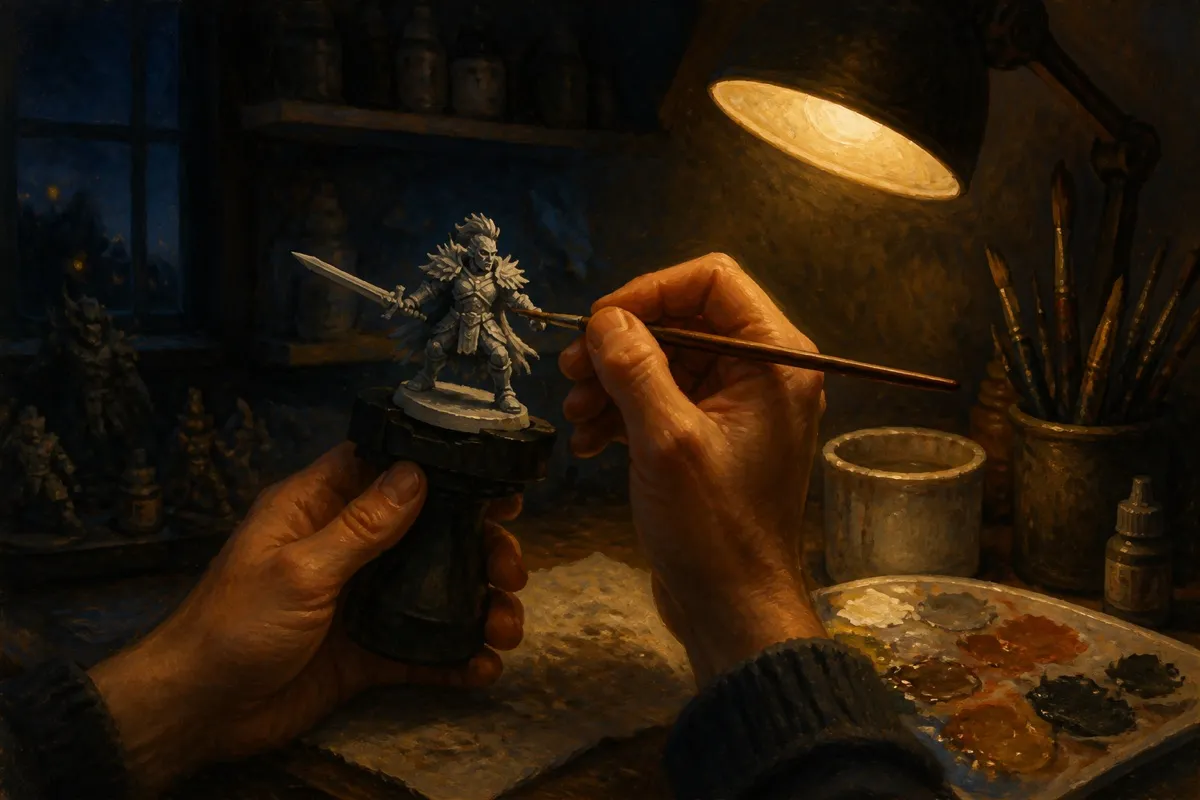
Painting a miniature comes down to seven repeatable steps: prep, prime, base coat, wash, highlight, detail, and seal. Every painted model, from a quick tabletop army to a showcase entry, follows some version of this same order, and skipping a step early usually shows up as a problem two steps later.
Step 1: Prep the miniature
Clean up mold lines and any leftover flash from casting with a hobby knife or fine files before painting anything. Paint does not hide a mold line, it makes it more visible by catching light differently along the seam. If the model is plastic, a quick wash in lukewarm water with a little dish soap removes release agent residue that can stop primer from bonding evenly.
Step 2: Prime the model
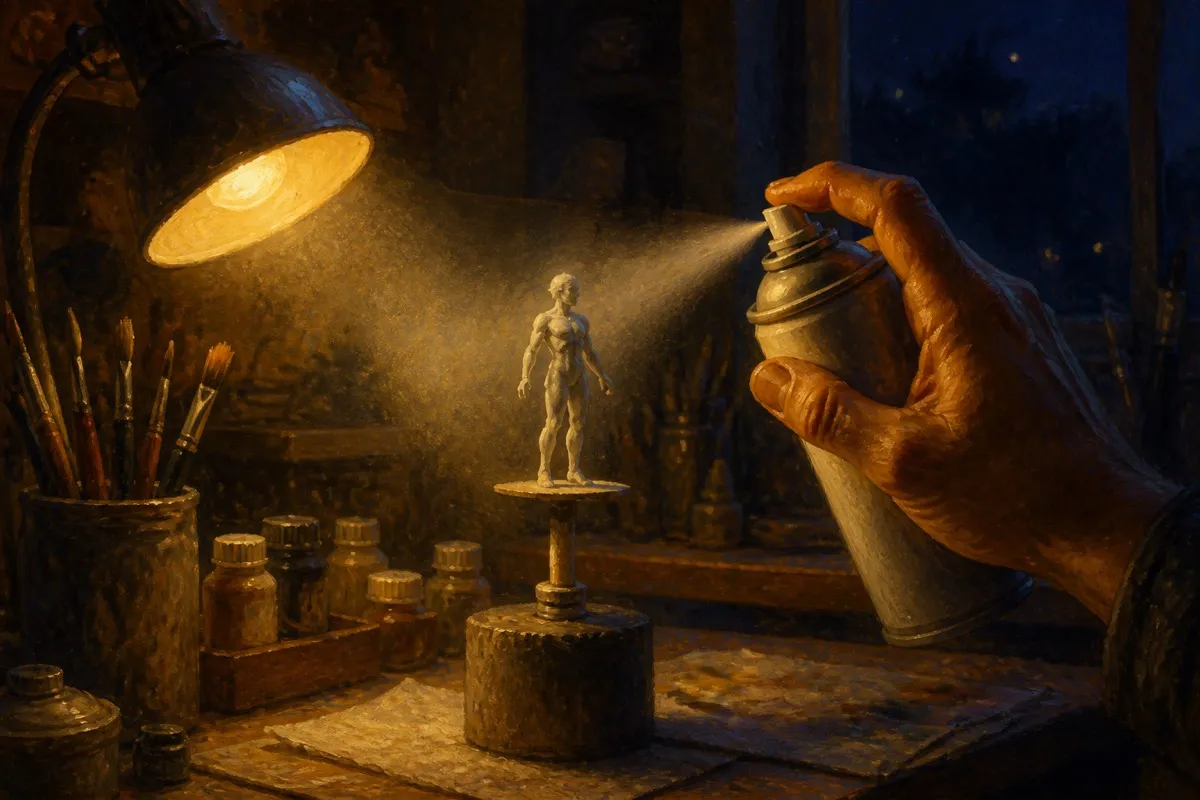
Primer gives the paint a surface to grip and establishes the base tone everything else builds on. Black primer makes colors read darker and more muted; white primer keeps colors bright and true but shows any thin spots in later coats. A zenithal approach, priming black then drybrushing or spraying a lighter grey or white from above, gives you built-in shading before a single paint color goes on.
Step 3: Base coat
Apply your main colors in thin, even layers rather than one thick coat. Thin coats dry evenly and preserve detail; a single thick coat pools in recesses, dries unevenly, and can obscure fine sculpting. Two thin coats almost always beats one thick one for coverage and detail retention.
Step 4: Wash for depth
A wash, applied over the finished base coats, flows into recesses and panel lines and darkens them, giving the model instant depth without manual shading. This is where a Citadel Shade or an equivalent wash from another brand does most of the work; picking the wash color that matches your base coat's hue keeps the shading looking natural rather than muddy.
Step 5: Highlight the raised edges
Once the wash is fully dry, a lighter version of the base color applied to raised edges and high points pulls the eye and reinforces the shading the wash already established. Drybrushing, dragging a nearly dry brush across the surface so paint only catches the highest points, is the fastest version of this step and a reasonable place for a beginner to start.
Step 6: Paint the details
Small details, eyes, metallics, gems, and trim, come last precisely because they are the easiest to fix in isolation and the hardest to protect if painted earlier and knocked around during the rest of the process.
Step 7: Seal with varnish
A final coat of matte, satin, or gloss varnish protects the paint job from handling and chipping. Matte is the standard choice for most miniatures; gloss is common only on eyes, gems, or wet-look effects, and satin sits between the two for painters who want some protection without killing all shine.
What is the fastest way to get a decent-looking army on the table?
Skip individual highlighting on every model and lean on the wash and drybrush steps, which give the strongest visual return for the least time invested. A contrast-style paint that combines base coat and shading into one step is also a legitimate shortcut for painters prioritizing speed over showcase detail.
FAQ
Do I need to prime a miniature before painting it?
Yes. Primer gives paint something to grip and prevents chipping that bare plastic or resin is prone to. Skipping it is the single most common cause of paint flaking off a finished model.
What order do you paint a miniature in?
Prep, prime, base coat, wash, highlight, detail work, then varnish. Painting details or highlights before the base coat and wash are finished usually means redoing them once the earlier steps change the surrounding color.
How many coats of paint does a miniature need?
Most base colors need two thin coats for solid, even coverage. A single thick coat tends to look patchy and obscures detail, while two thin coats dry evenly and preserve the sculpt.
What is the easiest technique for a beginner to learn first?
Drybrushing. It requires no fine brush control, gives an immediate visible result, and is forgiving of mistakes compared to freehand highlighting.
Do I need to varnish a miniature after painting it?
It is not strictly required but strongly recommended, especially for models that will be handled or played with regularly, since varnish is what protects the paint layer from scuffing and chipping over time.